Update: a new version of JewelryBox (1.3) is out and is compatible with OS X Mountain Lion. You can download it from here.
The following procedure is still working with Mountain Lion and Xcode 4.4
It’s a long time since I wrote my last article on my blog. I’m back, talking about Ruby.
I don’t want to explain you what Ruby and Rails are or do, because if you want to install them you already know everything you need (I hope…).
With early Ruby release the installation of a complete Ruby environment was not totally painless. Now, with RVM and the great graphical front-end for Mac OS X, JewelryBox things are very simple, like 2-clicks.
With this article I’ll show you the step-by-step guide to install Ruby (1.9.3-p125) on Rails (3.2) on Mac OS X Lion (10.7.3).
Let’s talk about requirements:
1) First of all, you need to install Xcode developer tools 4.3 (free from the Mac App Store);
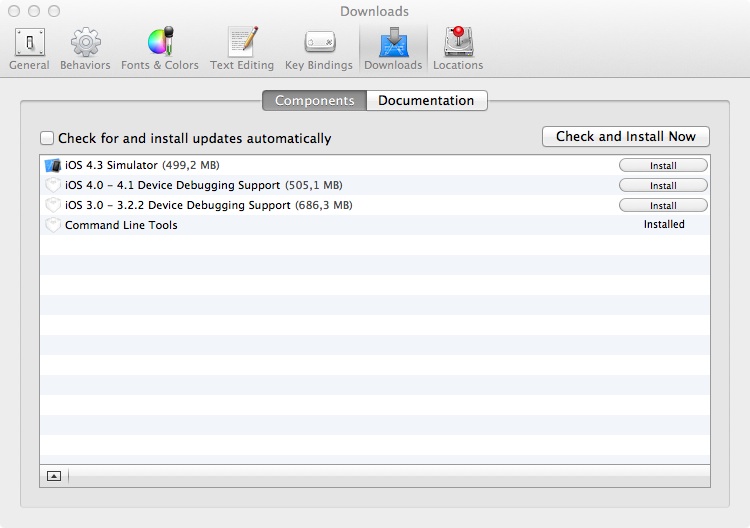
2) Second, you need to complete the Mac development environment installing the “Command Line Tools for Xcode” (LLVM compiler, Make, linker etc.)
To install “Command Line Tools for Xcode” open Xcode -> Preferences -> Downloads -> Components -> Install (on the right of Command Line Tools).
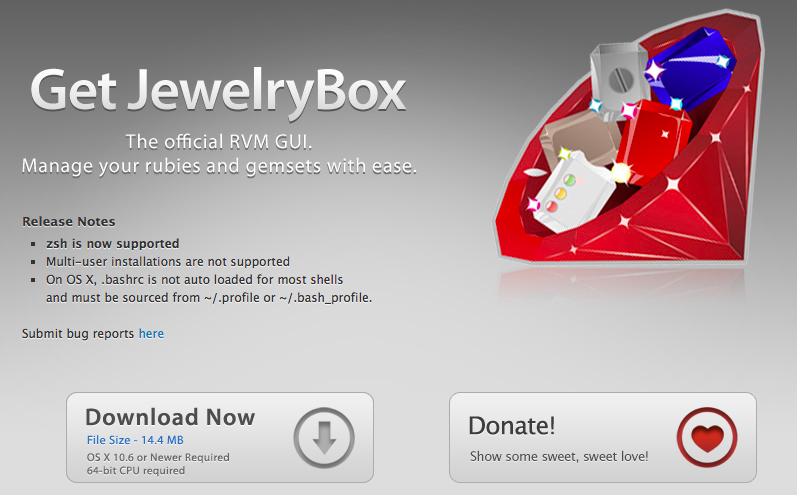
3) Download JewelryBox from Unfiniti website and install it.
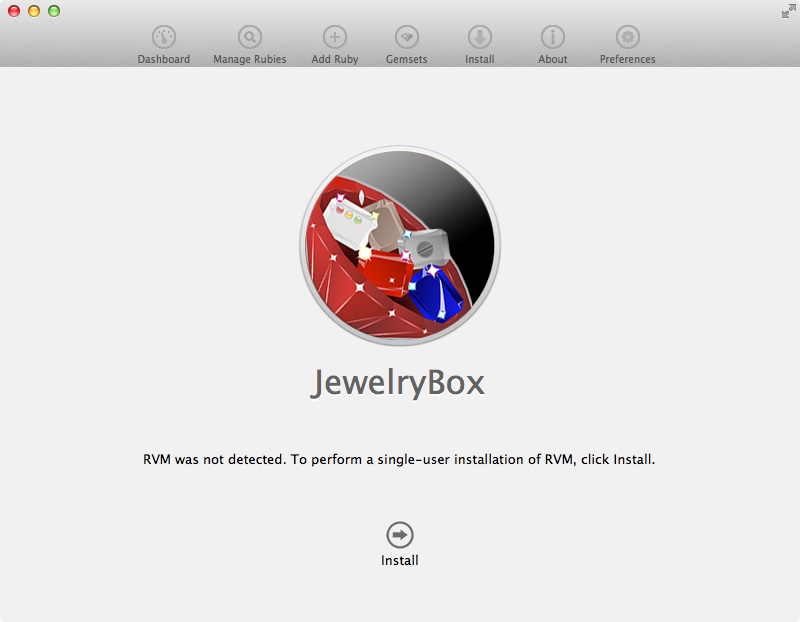
4) Open JewelryBox, and install RVM clicking into “Install” button:
5) Once installation is complete, choose “+ Add Ruby” from the upper menu selecting which Ruby version do you want to install (1.9.3-p125 is the latest stable version actually), and leave all the default options enabled.
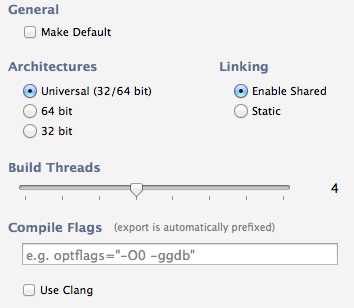
Note that in the older versions of Ruby (1.9.3-p0 or 1.9.2) and Xcode (4.2) you needed to select the “Use Clang” flag for a successful Ruby compiling, but this caused Rails installation to warning you about missing yaml (or libyaml) support. Now everything has gone.
6) All you need is? Rails. No, Terminal. Open the OS X Lion Terminal App and type:
$ sudo gem install rails
7) You’re ready to go, if the terminal output will look like:
$ <= 1.8.6 : unsupported
$ = 1.8.7 : gem install rdoc-data; rdoc-data –install
$ = 1.9.1 : gem install rdoc-data; rdoc-data –install
$ >= 1.9.2 : nothing to do! Yay!
$ Successfully installed … [cut]
$ Successfully installed rails-3.2.1
$ 31 gems installed
$ [cut]
$ _ (blinking)
8) Follow-up…You might ask yourself: “now what?”
- If you need a great and powerful Ruby on Rails editor: Vim (from terminal) or MacVim are my favorites with rails.vim great scripts. Alternatives are the expensive TextMate, or the free Komodo Edit .
- If you need some great books or resource to learn Ruby and/or Rails take a look at: Try Ruby, Agile Web Development with Rails.
- If you want to comment this post, that would definitely be a great follow-up.
Hope you enjoyed this simple guide, have a nice day.


